
Top 10 safari photography tips
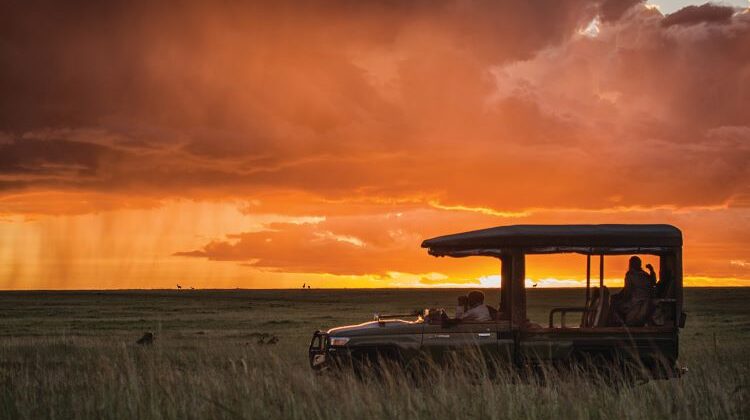
In this latest blog Dereck Joubert, a pioneer film maker and CEO of Great Plains Conservation shares his top tips on how to level up your photography skills and make the most of your safari.
Sitting amongst a pride of lions recently, I could feel their energy, the steady breathing of the pride. Across the way, a herd of elephants rumbled calmly from one acacia path to the next, ‘talking’ to each other, reassuring one another, and me. In the distance, hippos erupted into a tussle, but I have heard this so often that I take it for granted as background noise. My ears are tuned to nature’s sounds. An impala’s bark signalling a leopard, agitated guinea fowls (at a serval perhaps), or gazelles snorting at a moving cheetah. Getting closer is achieved by using all these senses. At Great Plains Réserve-Collection safari camps, we provide the latest professional quality Canon cameras with telephoto lenses for our guests to use for free while with us. Often, I suggest that people don’t ‘chase the photograph’ in the wild. Rather, put the camera down from time to time to soak up the moment. Taking photographs out here is another way to engage, to become hands-on, to interact with this amazing place all around you while on safari. It brings you closer.
These are some photographic basics that may help those starting out.
1. Tell a story with the image. What happens next? What do you want the picture to say? Snap a picture with your cell phone if it is just to record the moment. Use the camera, as one would use a paintbrush, to go deeper into the art of storytelling.
2. Eyes: it is all in the eyes. Focus on the eyes as opposed to another part of the face or body.
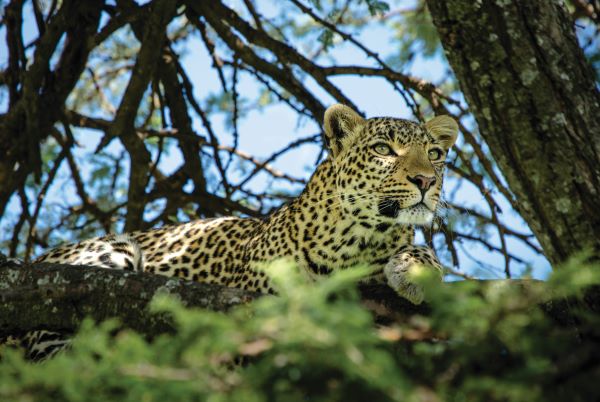
3. Leave space ahead of the animal if it is looking sideways out of the frame. Don’t jam its nose against the edge and leave more behind its head.
4. Move around a little to take a dead tree away from your subject. Don’t end up with an excellent lion shot but with a branch coming out of its ear. Clean backgrounds are fantastic.
5. Use the basic rule of thirds by dividing the frame into horizontal thirds and vertical thirds. Move the subject to where those thirds intersect as opposed to placing the subject in the dead center. Avoid that central spot like the plague!
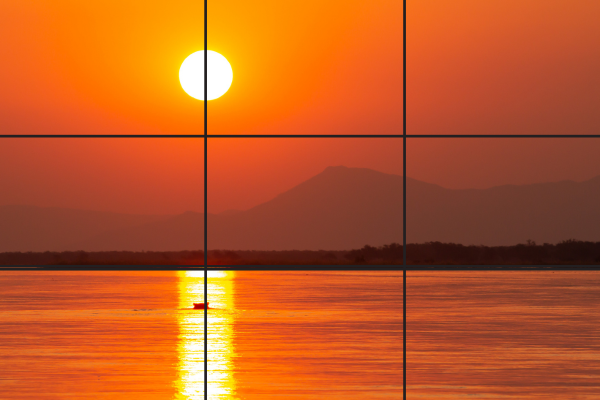
Dereck Joubert shares his top safari photography tips for your next African adventure
6. Balancing the aperture, shutter speed, and ISO are important in the eternal battle to manage light. Keep the camera steady on a bean bag if the light gets low; the shutter speed must also be slow. It will be blurred otherwise. I prefer low f-stops (wide apertures) to control depth of field, keeping the subject in focus while blurring the background and foreground. I don’t want the viewer to see everything in focus. You can set the camera up or ask your well-trained guide to set it up like this for you. A big depth of field simply means more in focus.
7. Look behind you. Sometimes, the light behind you is better than what you may be working with. An incredible sunset often throws a warm front light on the zebras behind you. I love that light.
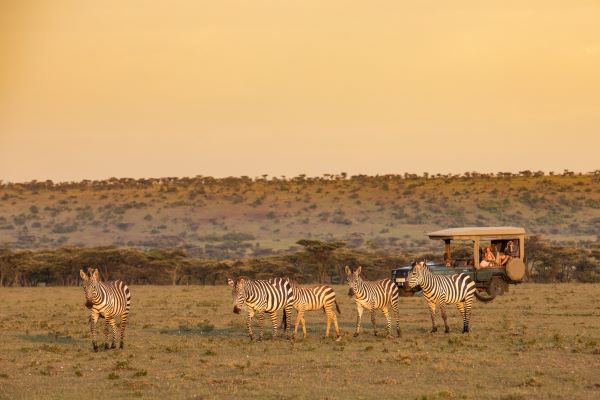
8. If you want two subjects close, move further away. If you want two subjects that are far, get close. For example, a cheetah watching a herd of zebras passing by can be compressed to make them look much closer. Achieve this by driving away from the sighting and use a long lens with them both in frame. If you want the lone tree and its shadows across the plains, move closer to the tree and place it in the foreground. Using a wide-angle lens will make it stand out from the rolling plains. And take scenics and landscapes. Africa is about lions and hyenas. But not always. It can be about the great ebony trees and figs. Or birds flying overhead.
9. Feet and heads are essential. We all know it is odd to cut off the subject’s head! But cutting off its feet in a wide or mid shot is also awkward. I usually imagine where the feet are, even in the grass and include that in the frame.
10. Get closer! I love using a 400mm lens or more. I use it to only to pick up detailed parts of an animal. Elephant eyelashes. The reflection of the horizon in a lion’s eye. A cheetah’s tail. The moisture on a buffalo’s nose. Or the curled tip of his horn. I often just let the lens play around, searching for close-ups in an exercise in composition and form.
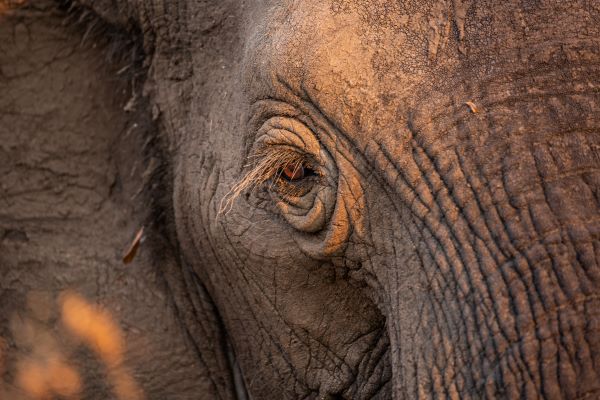
Today’s video is an exercise in close-ups that I recently did. Often, a tusk or tooth can say “elephant” or “lion” without the clutter of showing the whole animal. I train myself daily in this minimalistic form of image-making. It can be the most exciting and creative expression of photography.
Personally, photography has always been a reflection of life, its creative adventures, its storytelling, its perfection and yet freedom to experiment.
I hope these basics prove helpful.
What next?
We would be delighted to help you plan a specialised photographic safari or simply a trip where you get the opportunity to take fabulous photos. Our team of experts has travelled widely throughout Africa and a number are photographers themselves. They can offer expert advice on where and when to travel and what equipment to take with you. If you would like to talk to someone who has been there and done it, please just send us an email or give us a call.


Leave a Reply